Showing posts with label Easter. Show all posts

Wednesday, April 20, 2011

10 Fun and Interesting Easter Recipes


When Indiana's Family of Farmers asked me to come up with some fun and interesting Easter Recipes, I started searching the internet and came across some great ideas out there in the blogosphere!

Below are 10 links I found to be interesting... in no particular order. Some are tried and true traditional dishes while others are great ideas that I wouldn't mind giving a try. 
  1. Disappearing Marshmallows: How to make “Resurrection Buns” for Easter
  2. Bunny Hutch Cupcakes
  3. Easter Ham Recipes
  4. Herb Bake Eggs
  5. Sugar Cookies Revisited – Easter Cookies with Sanding Sugar
  6. Ears or Tails
  7. Armenian Easter Bread
  8. Buttermilk Poppy Seed Citrus Scones
  9. Green Bean Casserole
  10. Favorite Corn Casserole (I hear this is GOODe. ;))
Do you have a favorite recipe? I'd love to hear about it. 

Friday, April 15, 2011

Envelope Easter Bunny

Hello everyone!  This is Sarah at This Farm Family’s Life.  I was asked to share a kids’ Easter craft with you.  Today we will be making envelope Easter bunnies.

You will need:

1 white envelope
Pink and white construction paper
2 wiggle eyes
Pink pom-pom
Cotton ball
Grey and pink markers


1. Seal the envelope.
2. Cut two large ovals from the white construction paper.(ears)
3. Cut two smaller ovals from the pink construction paper.(ears)
4. Cut two small ovals from the white construction paper. (paws)

To make the ears, glue the pink oval inside the white oval.  Glue them both to the back of the envelope.

Glue the wiggly eyes to the front of the envelope. (If you don’t have wiggly eyes, you can use black and white construction paper.)

Glue the paws at the bottom of the envelope so they hang over about halfway.

Glue the pom-pom nose to the front. (If you don’t have a pink pom-pom, you can color it with a pink marker.)


Glue the cotton ball tail to the back.

Using the pink marker, draw the nose.


Using the grey marker, draw the whiskers and the pads on the paw.


Have fun being crafty!

Wednesday, April 13, 2011

Egg Safety

Guest Post By Board of Animal Health’s Janelle Thompson

The parts of an egg that make it so nutritious to eat are also the ideal growing locations for numerous harmful bacteria. Improperly handled or improperly cooked eggs can easily become a source for food-borne illness. By taking few simple steps while handling and cooking eggs, you can keep your family healthy.

Egg safety starts at the grocery store. When purchasing eggs, be sure to open the carton to make sure the shells are not cracked. Although eggs are cleaned before being packaged, bacteria can remain on the egg shell. Cracked eggs have their sanitary “barrier” broken, which could allow bacteria to enter. 

When you get home, immediately place eggs in the refrigerator in their carton.  And, unless the fridge door is rarely opened, eggs should be stored on a shelf in the fridge so they remain at a constant, cool temperature.  Raw eggs will keep in the refrigerator for about 4 to 5 weeks after their pack date.  Hard-boiled eggs can be stored in the fridge up to one week. 

Warmer weather means outdoor pitch-ins and picnics.  While these gatherings can bring much fun, they also bring an increased risk for food-borne illnesses.  Prepared foods containing eggs or egg products should not be left out at room temperature for more than two hours.  Food served outdoors in the hot sun should be returned immediately to a cooler.   

Cooking eggs to a proper temperature effectively destroys the harmful bacteria that may be present.  An egg is properly cooked when the egg white is completely set and the yolk begins to thicken, but is not hard. Food items such as scrambled eggs and omelets should be cooked until no liquid remains.   

Another springtime custom, egg decorating for Easter, can pose a significant risk for food-borne illness since the eggs are handled so much. First, be sure to wash your and your kids’ hands thoroughly during the decorating process. If the eggs will not be decorated right after they are cooked, store them in their cartons in the refrigerator. After the eggs have been decorated, place them back in the fridge. If the decorated eggs will be eaten later, be sure to use food coloring or dyes made specifically for food. 

If you are planning on hunting eggs at Easter just use the plastic ones.  You never know what the eggs may come into contact with while they are hidden outside or how long they will sit unrefrigerated.
Bacteria (or BAC®) is sneaking around everywhere and you never know when he might emerge, so practice good egg safety this spring and keep BAC® away.  


BAC® has been so bad about meddling in people’s Easter activities that a website has devoted a whole page to egg safety.  Check out more information from Fight BAC™ here http://www.fightbac.org/safe-food-handling/safety-in-all-seasons/130-eggs-tra-care-for-spring-celebrations-

Eggs are a basic staple to many Hoosiers’ diets, and as long as they are handled and cooked properly they are a great source of nutrition!  For variations on a springtime favorite, deviled eggs, see Kraft Food’s Favorite Topped Deviled Eggs.  http://www.kraftrecipes.com/recipes/favorite-topped-deviled-eggs-105209.aspx

Enjoy, and do not forget to use EGG-cellent food safety this spring!


Tuesday, April 12, 2011

Egg Decorating

Guest Post By Denise of Real Farmwives of America & Friends and Who is the Grown Up?

Beyond the significance of Easter in the Christian calendar, this season is also a fun time for family traditions—like coloring eggs.

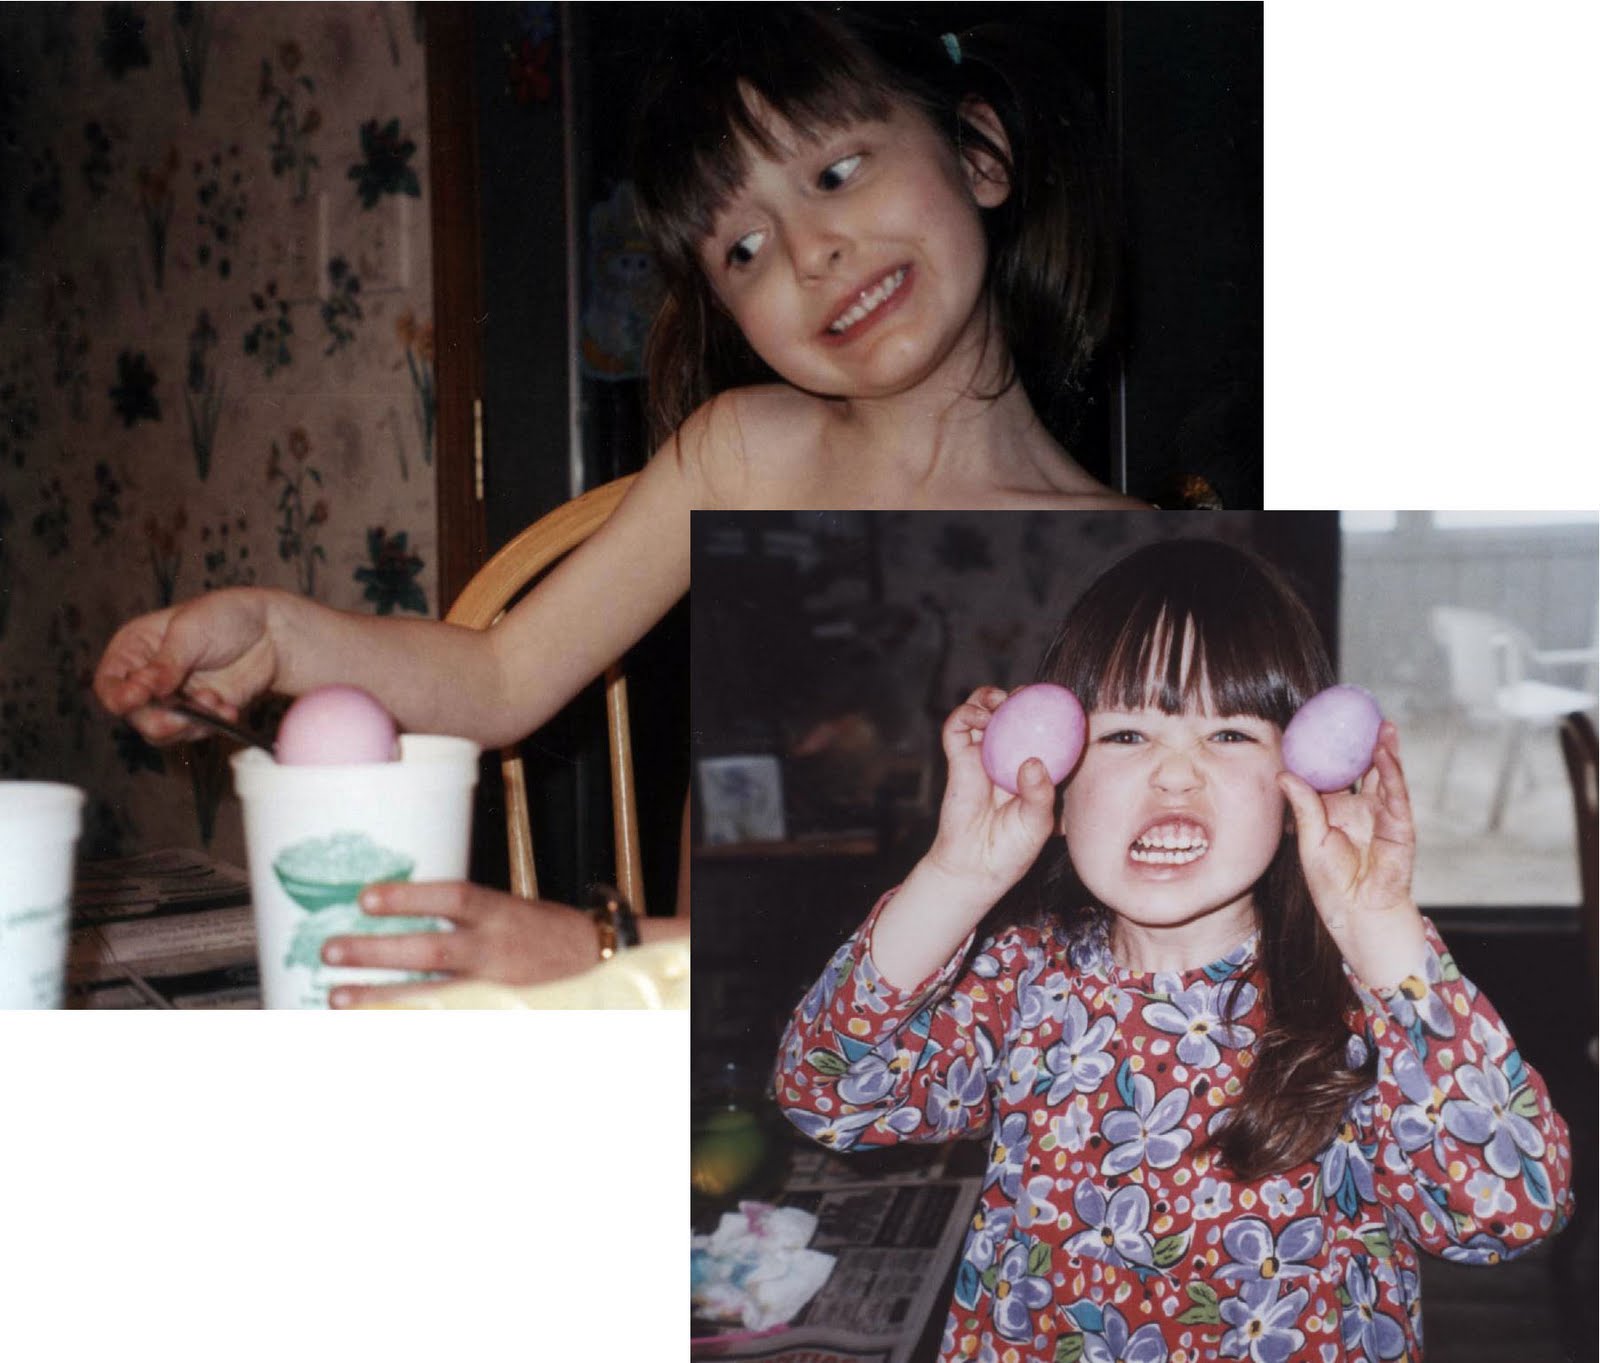
My daughters, now 13 and 11, have enjoyed coloring Easter eggs from a very early age.


Side Note: I had a hard time finding a picture of Elaina wearing clothes while coloring eggs! So I had to do a little positioning of the pic of Diana.

I have to admit:  We’re kind of a boring, traditional family when it comes to coloring eggs. Every year we break out the good ol’ Paas egg dying kit to bring a little color into our lives. After all, it’s inexpensive, convenient, easy to clean up and results in lots of pretty eggs (that will be part of lunches for a week or two!).

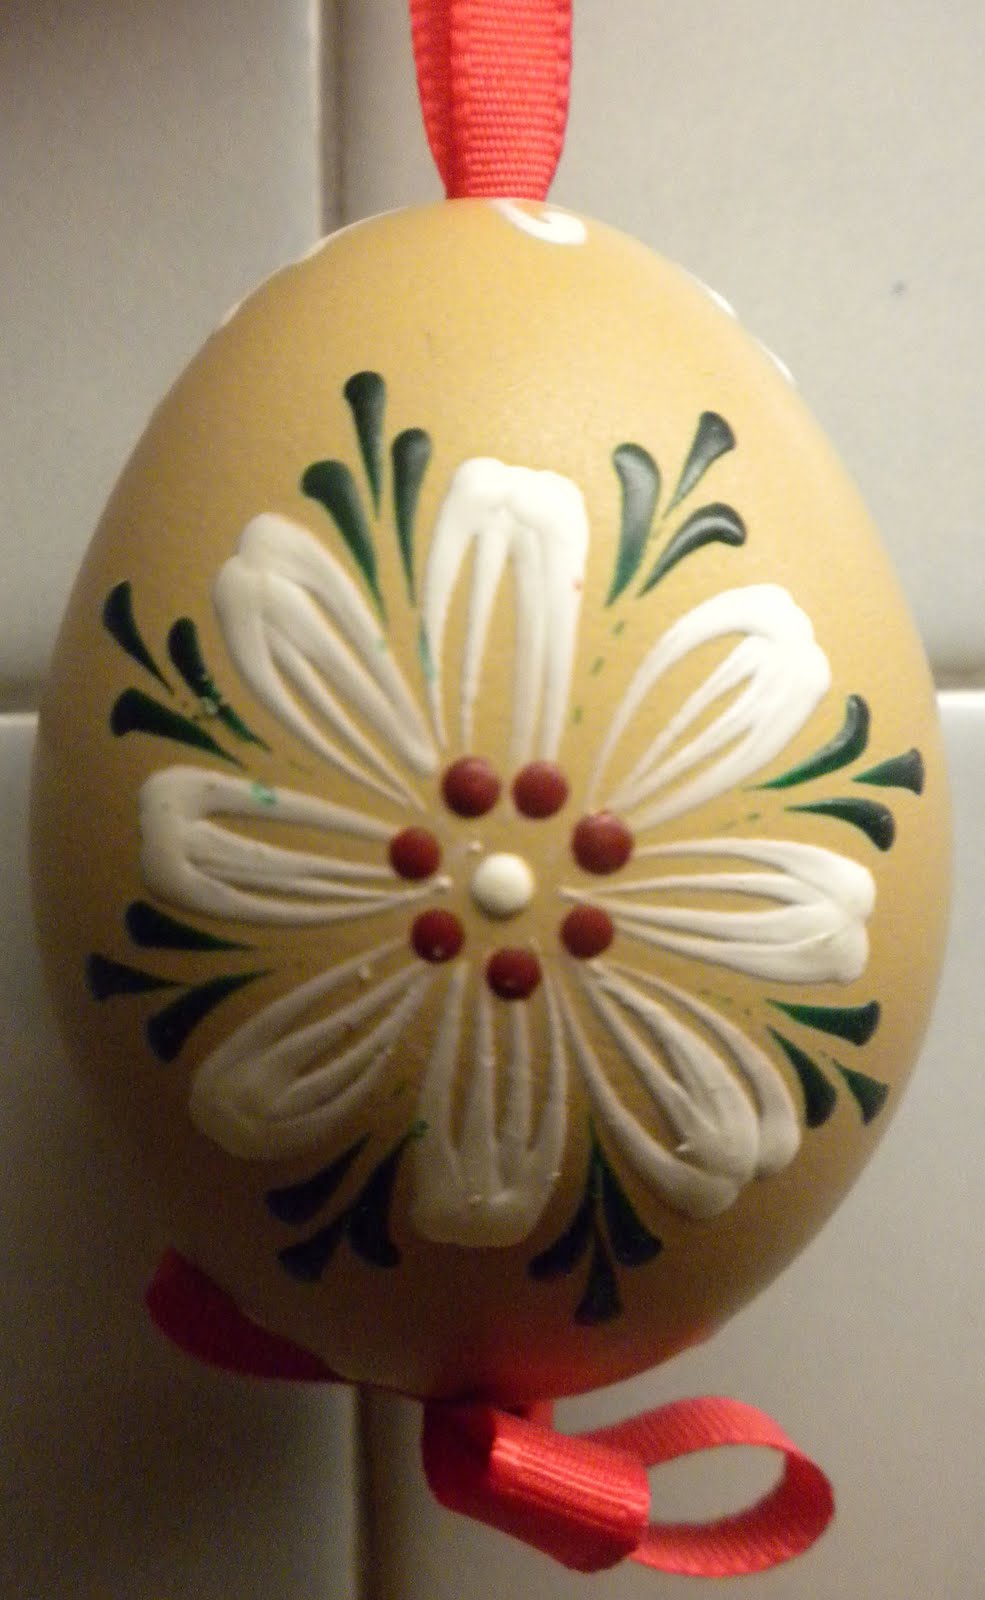
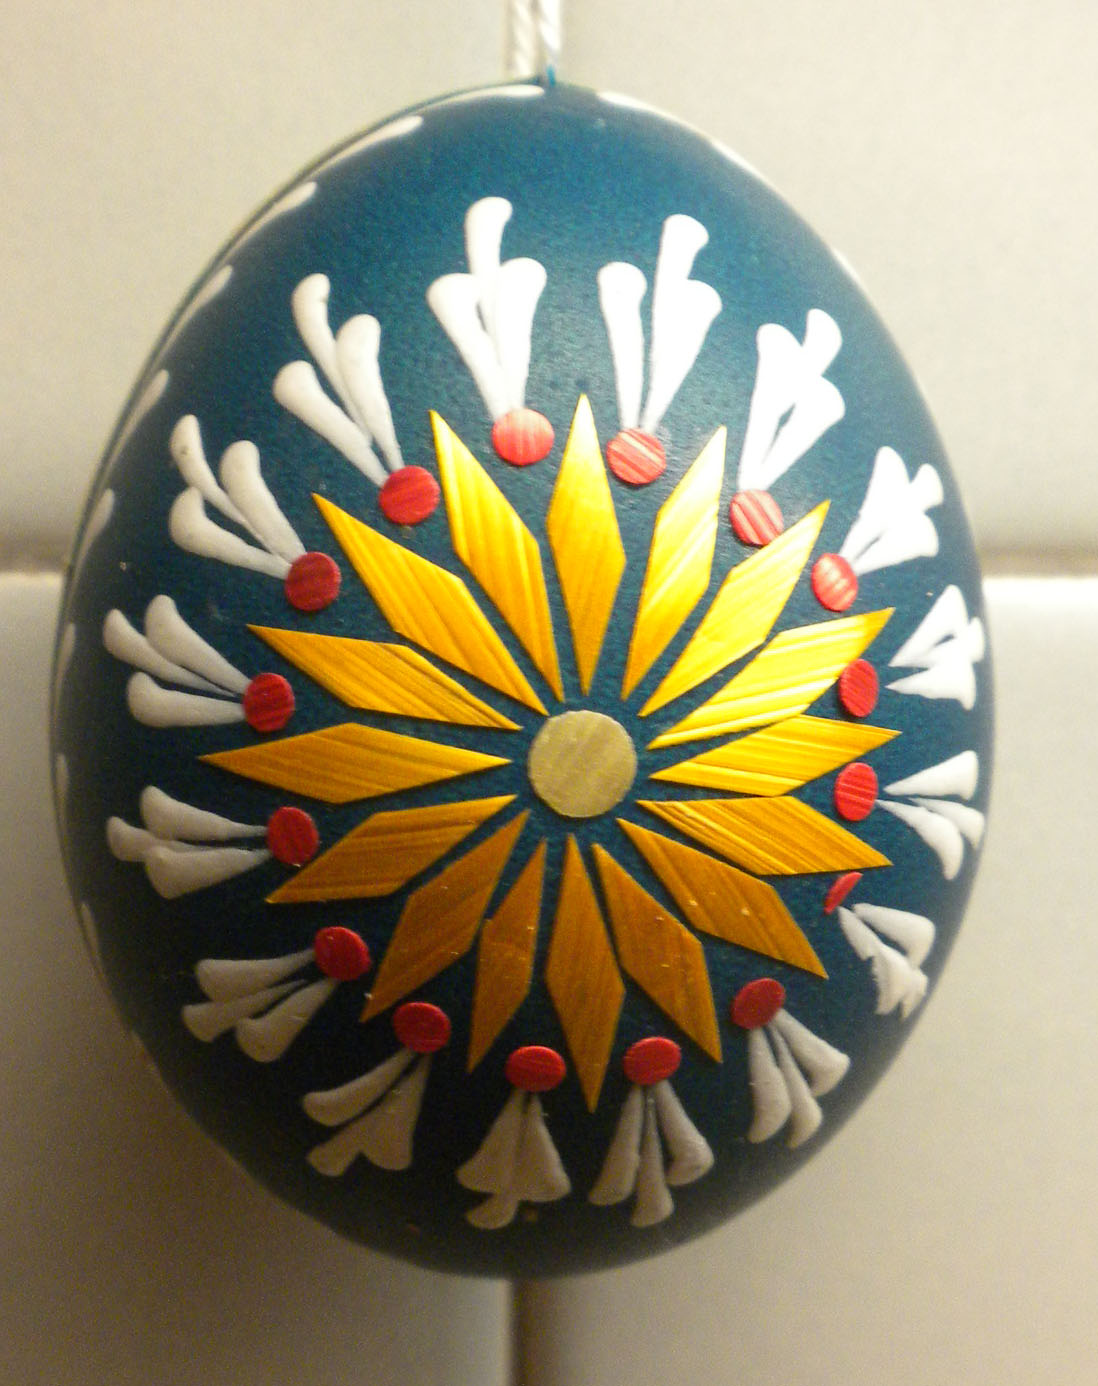
This year, we’re going to jazz things up a bit and try something different. I got a little inspired during a trip to Europe last year. Take a look at some of the beauties I brought back:


I bought these eggs (and about a dozen others that went to family and friends) while visiting Slovakia last year, when I had the privilege to be part of Class 13 of the Indiana Ag Leadership Program (ALP).

As part of the two-year ALP program, each class takes an international trip to experience the culture and learn first-hand about agriculture in other lands. Our class journeyed to Hungary, Slovakia and the Czech Republic.

In doing a little pre-trip research, I discovered that the people of that region have a couple of Easter-related traditions tied to their colorful eggs.

In Hungary, on Ducking Day (the Monday after Easter), the boys go from house to house and will sprinkle water or perfume on the girls they like. (This is the modern version of dousing them with a bucket of water like they did in the olden days!) The boy might ask for a kiss or a red egg—which was the positive response from the girl. Apparently, the color of egg she gave back was an indicator of her opinion of the young man.


The Czechs had a similar Easter Monday tradition of the girls giving decorated eggs to the boys. Only the eggs were given after the boys playfully whip the girls on the backs of their legs with pussy willow branches decorated with ribbons. The story goes that the pussy willow is the first to bloom in spring, and the whipping will bestow fertility.

While I’m not expecting any boys to come calling at our house on April 25, I think the girls will have some fun being a little more artistic this year. Although, I’m not sure we’ll be as detailed as the artist was for this egg. The gold-colored petals on the flower and the stripes on the grid are actually small, flattened pieces of a wheat stalk glued on the eggs.


Here’s the plan, in case you haven’t blown eggs before:

  1.  Carefully clean the outside of the uncooked eggs with a damp paper towel. (Because I’m a germ-a-phobe, I, personally, prefer to use a food-safe disinfectant like diluted bleach, since the kids are handling them.)
  2. Gently pierce each end of the egg shell with a clean tack or pin. Use a long pin to break the yolk, or you won’t be able to blow it out. You can use a bulb-style ear-and-nose syringe to blow out the eggs.
  3. After the eggs are empty, rinse them in a bowl of water. Next dip the shells in a bleach-water dilution to prevent anything from getting moldy or smelly.
  4. Once the eggs have air-dried completely, they are ready to paint or dye.
  5. For those of us who hate to see food go to waste, use the egg whites and yolks to make scrambled eggs—provided they haven’t sat out of the refrigerator for more than two hours.
If you have a fun and creative egg decorating idea, or even an egg that inspires you, be sure to share a link or post it on our Facebook page!
Happy Easter!

Denise